SharePoint MOSS 2007 - Walkthough Customizing a CQWP Instance
For this article, we'll do a simple tutorial on customizing the Content Query Web Part (CQWP) that comes out of the box with MOSS. We'll start with a brand new site collection based on the Team Site Template. We'll then create a new custom list with our own custom columns. Once we've added some data to our custom list, we'll then create a customized CQWP instance to display those custom columns for our data.
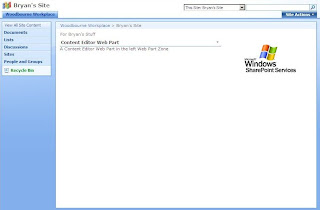
So, go ahead and create your new site or site collection and login to the default page for that site.
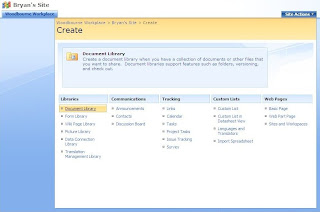
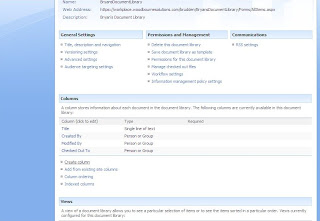
Lets start by creating a new SharePoint library where we will store a few documents for use in our CQWP. We'll customize this library with new columns that we want to use to filter by and display in our CQWP output.
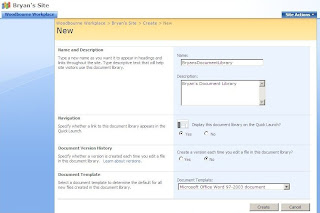
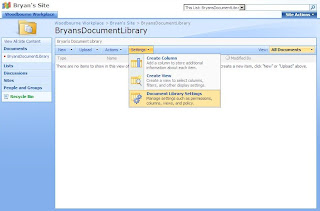
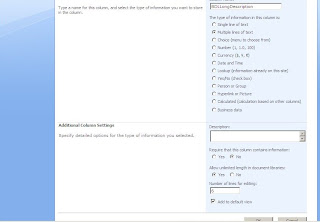
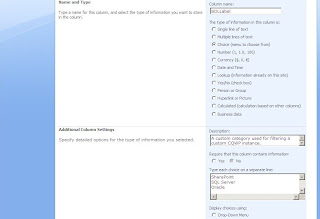
Note that the 2nd column called BDLLabel should be set to "Display choices using: Checkboxes (allow multiple selections). Leave the rest of the options to the defaults.
With all our custom columns in place, add some new documents to the list we just created. In the next few screens, I'm adding a word document and taking advantage of Microsoft Office 2007's ability to connect to the SharePoint server to view and edit document metadata.
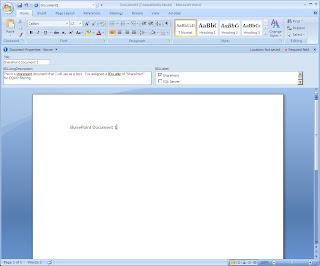
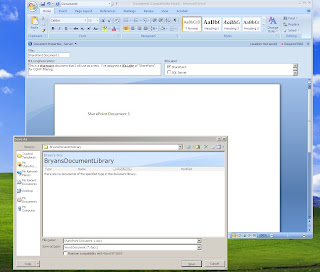
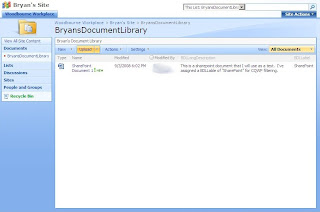
If you dont have Microsoft Office 2007, you can still edit metadata through the browser interface as shown below.
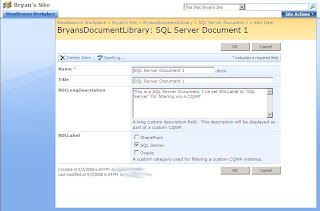
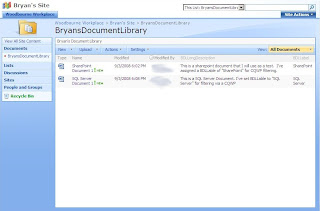
Now that we have a few documents in our library to work with, we can go to work on creating and customizing a CQWP instance for our list. On the site home page, drop in a CQWP, then modify it to show records from our custom list.
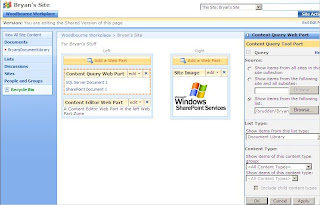
Now export that bad boy to a .webpart file on your local machine. The file is plain text XML, so you can edit it in your favorite text editor. In the screens below, I use Visual Studio to add our custom columns to the CommonViewFields property, which makes our custom columns available to our XSL style sheets for this web part instance. We'll use the XSL style sheets later to display the custom column data.
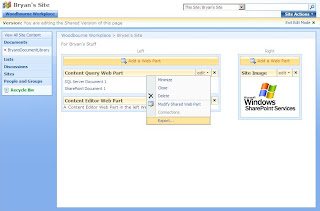
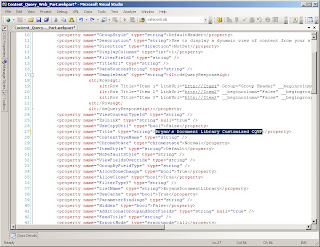
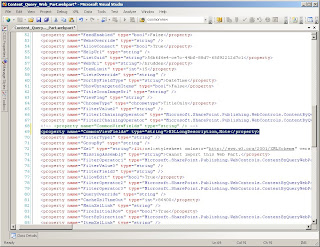
Save your changes to the hacked up .webpart file and then import that bad boy back into the home page. And yes, we now have another web part instance on the page in addition to the one we exported earlier. If you changed the title in the .webpart file, that will display in your new web part instance's chrome so you can tell them apart.
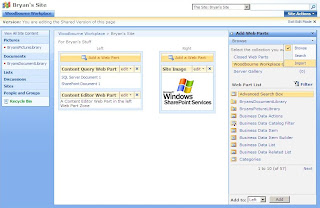
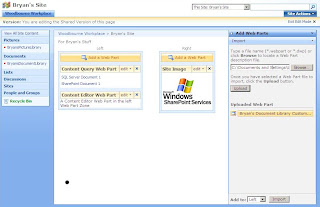
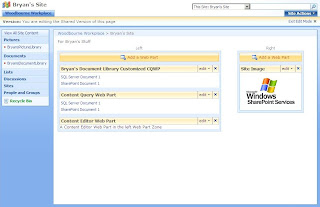
At this point, we could safely delete the web part instance we exported from ... or you can just let it sit there to see how different our customized version will look in comparison. Whatever. But at this point, we are done modifying the .webpart file (at least for now >_>). We now have access to our custom columns, so now lets move on to rendering them as part of the CQWP output.
You'll need to break out SharePoint Designer at this point, login to your site and checkout/edit \Style Library\XSL Style Sheets\ItemStyle.xsl
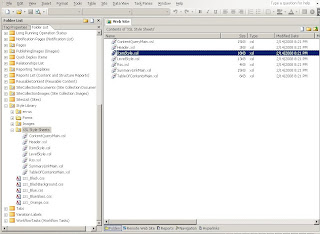
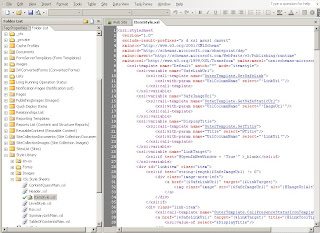
Looking at the <xsl:template> tags, look for one named "Bullets". We'll customize a copy of that template for our own use. Remember, try to avoid customizing any of the out of the box SharePoint templates. Always try to customize a copy where you can.
All we want to do is change the name of our new style template to BryansStyle and add our custom description from the .webpart file, BDLLongDescription, to the template.
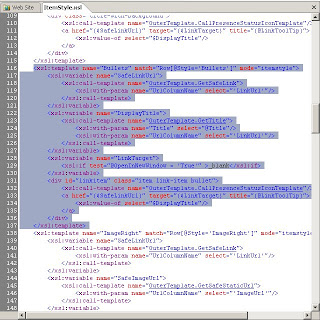
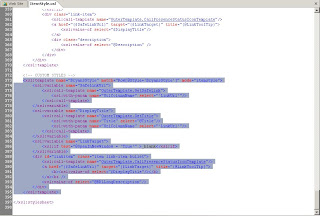
now save and check in ItemStyle.xsl and go back to the webpage. Put the page in edit mode and modify the customized CQWP. Under the Presentation section, change the Item Style to BryanStyle and click Apply to see the custom description show up in the CQWP results.
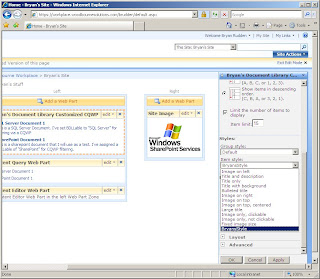
And thats it! After doing that a few times, you get the basic idea. Create a custom column, add it to a list. Drop in some data. Export a webpart, customize it, and re-import it. Hack up the ItemStyle.xsl to support the new column. Bam! Done!
Keep in mind, this is a pretty easy example. Not much XSL formatting, no query customizations based on our column and we used a very simple datatype. I'll try to touch on these points in the next few posts ... working with dates and date formatting is probably what most people use, so I'll do that in one of my next few posts.
Continue on to Exploring the MultiChoice column.
